Being pregnant I am hungry quite a lot of the time but I try to nourish my body with as many pure ingredients as possible to give my baby the best start in life. If I’m hungry, I eat, and by making snacks like these and keeping a batch in the fridge, there is always something healthy to snack on when I fancy something sweet.
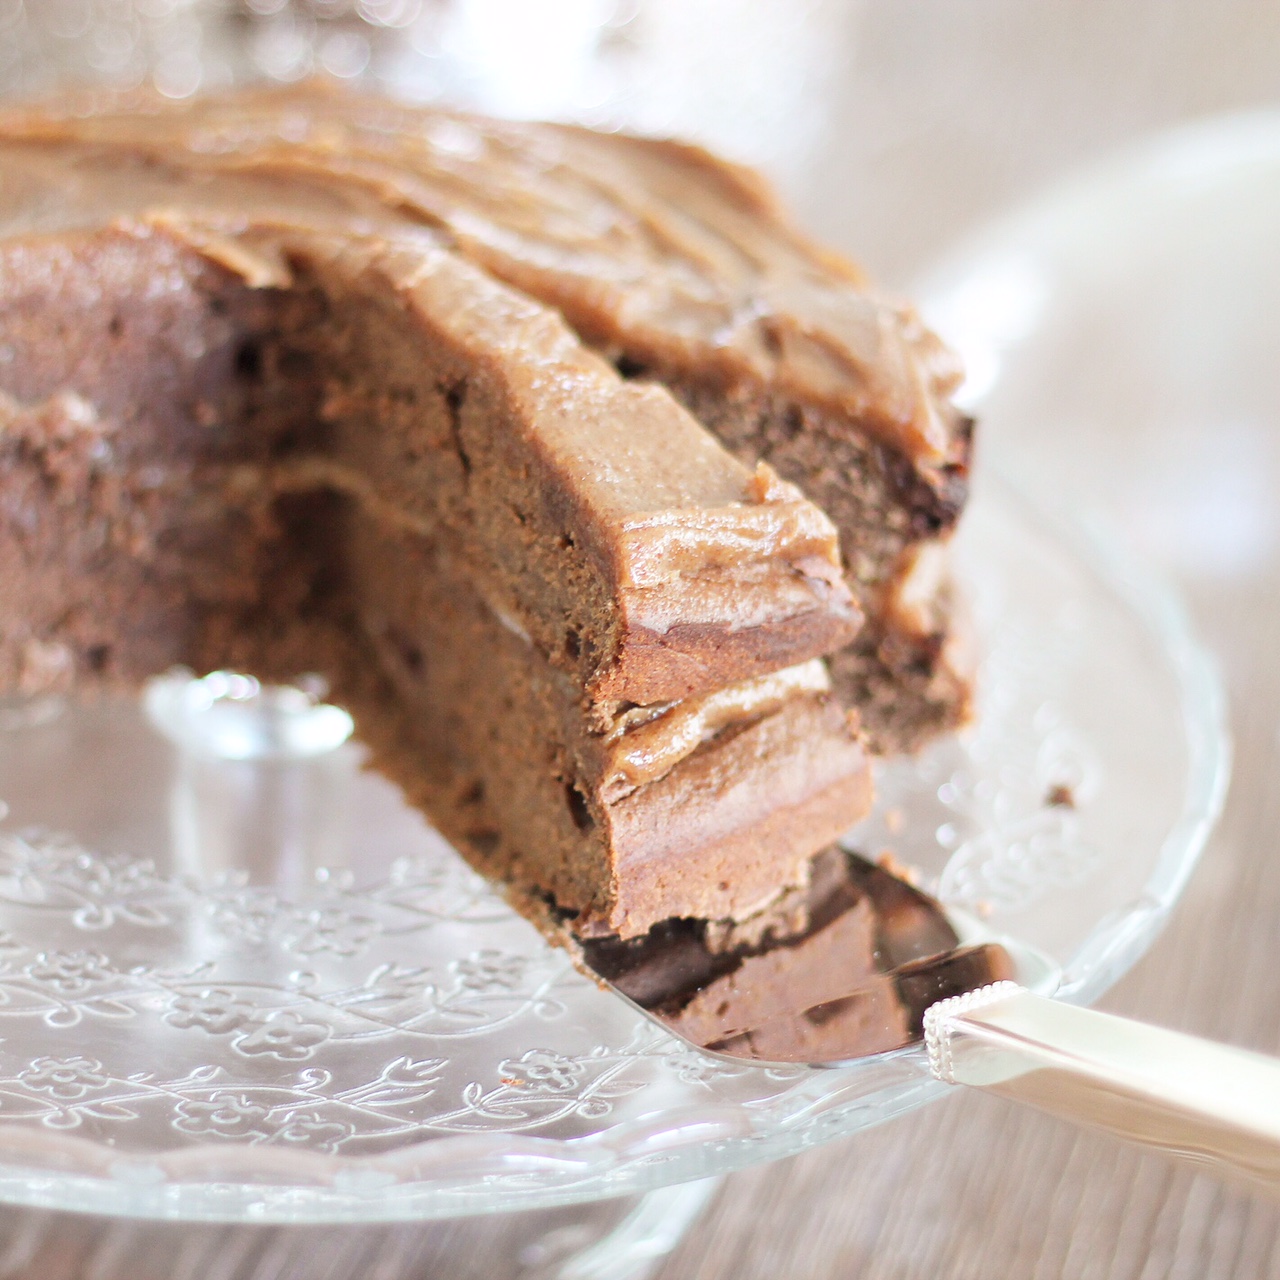
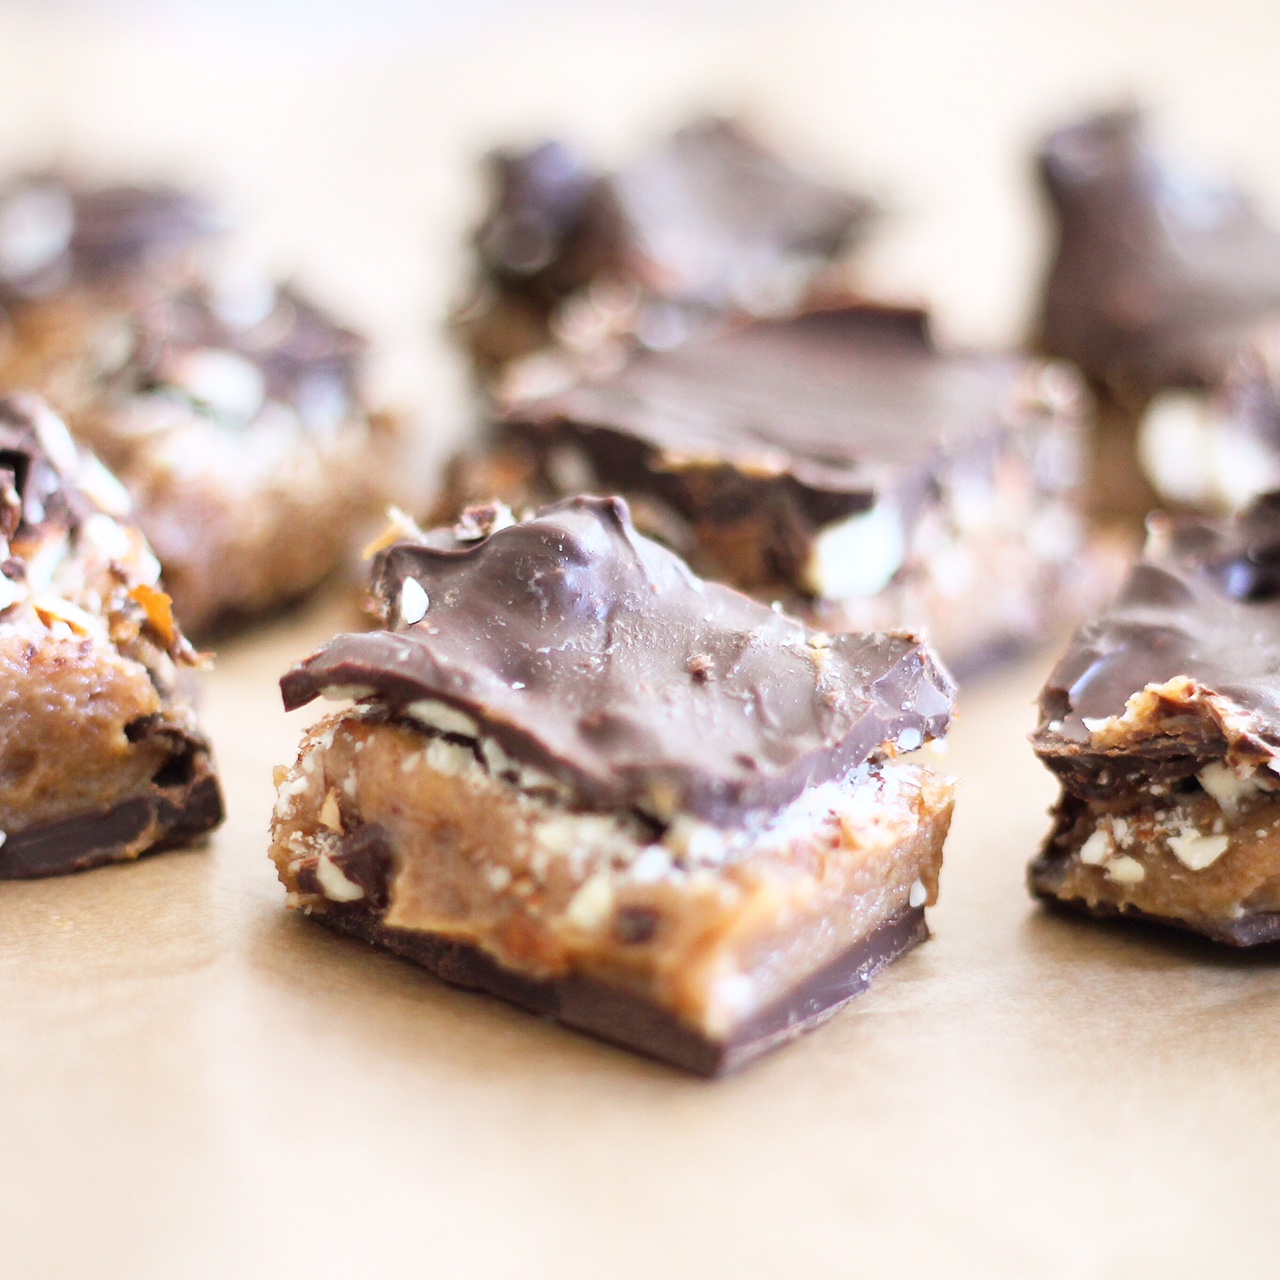
Everyone loves a chocolate brownie, but we all love it better when it’s guilt free. I had a load of Jaffa oranges left from my juicing so thought about doing a sweet variation on my usual raw brownies.
The raw cacao, as we know, is full of organic, pure nutrients and, like the almonds, is a great source of protein. Look no further for a snack for the kids that isn’t full of rubbish, is made with pure ingredients, and will take you no more than 15 minutes to make. This really is the easiest recipe with so few ingredients, anyone can make these!
Ingredients – (do double up if you want to make enough to last a while. This recipe makes about 8 small brownies)
1 heaped mug almonds (make sure to soak in purified water for at least 6 hours)
15 organic medjool dates
3 heaped tbsp raw cacao powder
1 tsp organic pure maple syrup
Juice of one orange
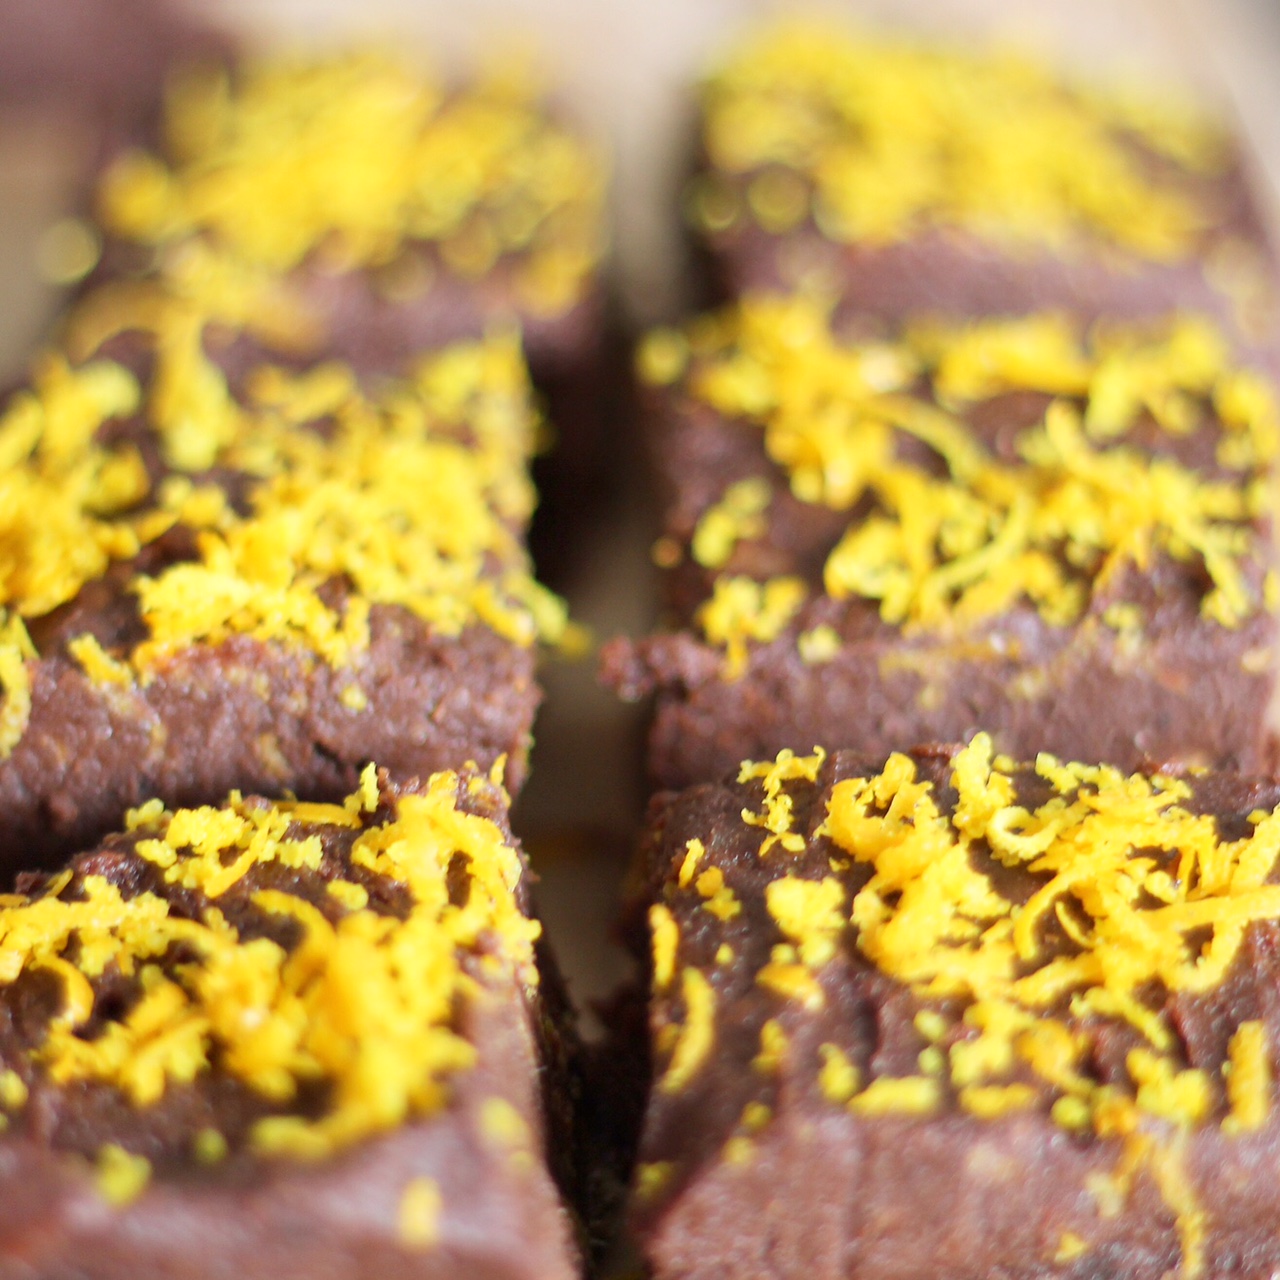
Zest of the orange
Method
Once the almonds have been soaked, rinse and pat dry with a paper towel, then put in the blender and blend until it almost turns into an almond butter.
Scrape away the sides then add the dates, cacao, maple, orange juice and a quarter of the orange zest. Blend until well incorporated.
Grease a silicone loaf tin or square tin with a little coconut oil, spoon the mixture in, smooth the top over with a spatula and put in the freezer for an hour and a half.
Remove from the freezer, sprinkle the remainder of the zest on top, cut into brownie slices and store in the fridge.
Enjoy!
Love,
Lauren