Butternut Squash & Ginger Soup

Butternut Ginger Soup

Another warming soup for another cold London day. You can probably tell by all my recipes how much I love butternut squash! Butternut squash have a lower glycemic index than potatoes and are high in fibre so great for the metabolism. They’re packed with Vitamin A and potassium, are low in calories (low GI) and high in Vitamin B Complex which I need lots of for my nerve problems caused by long-term arthritis. They are also high in polyphenols (like acai berries and blueberries) which are great anti-oxidants. An all round brilliant vegetable! I added ginger, firstly because I like to take advantage of the detox affects of ginger but also because it gives it a great kick. The two flavours really go nicely together – my mum taught me that! I of course added turmeric, as I do to everything that is yellow, for some anti-inflammatory action.

Ingredients

1 butternut squash
1 large sweet potato
1 onion
1 cup vegetable stock
1 cup almond or coconut milk
1 tsp freshly shaved ginger
1 tsp turmeric
Salt & pepper to taste
Half tsp coconut oil
Handful of pine nuts (optional)

Method

Peel and chop your vegetables. When that’s done, heat the oil in a large saucepan and when hot, add the onion and cook for one minute. Then add the butternut and sweet potato and coat in the oil, 30 seconds should be enough.

Add the stock and almond milk, along with the rest of the ingredients and keep at a high temperature until it starts bubbling then turn down to low, put on the lid and let it simmer for an hour.

Once all veggies are soft, use a handheld blender to blend (or put it in a food processor if you don’t have a handheld) and blend until smooth. Add salt & pepper to taste. Decorate with pine nuts, a great accompaniment for this soup!

Enjoy!
Love,
Lauren

Creamy Cashew Yoghurt

Cashew Yoghurt

I love yoghurt and I think it’s one of the things I found I missed most when cutting out dairy. But don’t fret! We can make our own dairy-free version of course! And I used cashews here. Mainly because cashews go really nice and creamy and are also quite sweet so they make a great yoghurt. The magnesium content in cashews also helps keep our bones strong and are packed with flavanols which starve tumours and stop cancer cells from spreading, which is essential in this day and age with all the cancers around.

I added 2 probiotic capsules to this also, firstly to help keep my gut strong (read about that here) but also to help build yoghurt cultures in the yoghurt, so it’s not just a cashew cream.

In order for nuts to survive, nuts contain inherent toxic inhibitors that protect the plant from germination until the ideal conditions are present (nature is amazing!) It is not until they get wet and there is sufficient moisture that they germinate. It can wreak havoc on your digestive system if you don’t soak them because these protective enzyme inhibitors do not digest in our bodies, your body will fight them, so you must soak them to release these toxins. Not soaking nuts first will also inhibit the absorption of nutrients. I suggest soaking overnight but 4 hours will do it.

You can top this with anything you like, I used strawberries, sunflower seeds and hazelnuts.

Ingredients

1 cup cashews
1 and quarter cup purified water
2 dates
2 tsp organic natural maple
1 tsp vanilla essence
2 probiotic capsules

Method

First, you must soak your cashews in purified water for AT LEAST 4 hours. Soak overnight if you can. Do not omit this step. (See above for explanation). Once the nuts are ready, drain and rinse, then put them in the blender with the water and blend for around 7-10 minutes. You need it to go super smooth and creamy. If you have a high-speed blender like a Vitamix, the mixture will heat up like a soup, don’t worry.

After around 4 minutes of blending, add the rest of the ingredients and proceed to blend until completely smooth like a yoghurt. Add more water if it’s too thick.

Store in a sealed container in the fridge (once it has cooled) for up to four days and enjoy with your favourite toppings.

Happy weekend everyone!
Love,
Lauren

Everything You Need To Know About Dairy, And Why To Stay Away…

Milkfbv

Here it is, the post you’ve been dreading, the one that will make you re-evaluate everything you’ve ever been told about nutrition. Don’t worry, I was in your boat not so long ago. This wasn’t information I was brought up knowing, it is information that I have taught myself over the years. So here it is: you don’t need milk or yoghurt to benefit from highly bioavailable sources of calcium. In fact, contrary to popular belief, most dairy products do not possess any type of calcium that is easily absorbed in the body. Can you believe it? Read on to understand why…

The pasteurisation process involved in the manufacture of most dairy products creates calcium carbonate which has absolutely no way of entering the cells without a chelating agent. When we drink milk, the body pulls the calcium from the bones and other tissues in order to buffer the calcium carbonate in the blood. This process gradually weakens bones, so all that rubbish we were told growing up about milk making our bones stronger, is completely false. Milk also has little to no nutrient density because pasteurisation destroys enzymes, diminishes vitamin content, denatures fragile milk proteins, destroys vitamins C, B12 and B6 and kills beneficial bacteria. (Nutrient density is the ratio of nutrient content to the total energy content. Thus, nutrient-dense foods are those foods that provide substantial amounts of vitamins and minerals and relatively few calories.) It’s the main reason pasteurised milk promotes pathogens and is associated with allergies, increased tooth decay, colic in infants, growth problems in children, osteoporosis, arthritis, heart disease and cancer. In its raw form, cow’s milk does contain lots of nutrients, but too much bacteria is carried in raw milk for us to consume it safely.

One of the main reasons we should stay away from dairy is because of its effect on the immune system. Dairy kills good bacteria in the gut, making way for lots of bad bacteria to flourish and creating the perfect environment for parasites to nest. If you are bloated, get tummy aches, flatulence and cramps, it is likely to be caused by either gluten or dairy, or a combination of the two. So what does this have to do with the immune system? Well, believe it or not, the immune system is predominately housed in the gut, so if your gut is weak with too much bad bacteria, your immune system will also be weak and will subsequently lead to susceptibility to common colds and viruses, as well as leaving us open to autoimmune issues. I never used to realise that one part of the body could so drastically affect another. What, I would have asked, does my immune system have to do with my stomach? But our bodies are one big vehicle needing all parts to be in good shape in order to work fully. The stronger your gut is, the stronger your immune system will be. By cutting out dairy and taking a good probiotic or drinking Kombucha and / or Kefir, you are aiding the growth of the good bacteria and the demise of the bad, making way for a healthy gut and strong immune system. (You can get infant and child probiotics also.)

To summarise, (and to destroy everything we’ve ever been taught about milk!) the calcium in cow’s milk is NOT bioavailable to humans. Think of it logically; we are the only species on Earth who not only still drink milk after infancy, but who drink the milk of another species. It was never meant to be, it was just what was done in days when people were poor and lived off the only resources they had available to them (EG: in Russia people lived predominately off fish as this was available, in Morocco people cooked with fruits and sweet herbs such as cinnamon and dates as this is what was available, in England they drank milk as they had an abundance of cows so they utilised all of their produce), the Inuit live predominantly off whale blubber… You get my point; these eating habits became just that – habit – and we forgot to question them, we just assumed it was the best way to eat. Today, everything is available to us, so we really don’t need to resort to drinking the lactation of another species to sustain ourselves. Which leads me to the question of why people think it is totally abhorrent to try breast milk- the milk of our own species- but absolutely fine to drink the milk squeezed from the nipples of a totally different species. Because we’ve been told to? Because we know no different? Surely in this age of information it is about time we start thinking for ourselves and stop following blindly the things we’ve always been told, things that benefit industry but not our health.

Cow’s milk is for baby cows. Human babies are much smaller than calves, therefore our bodies find it very difficult to break down (along with all the other reasons listed above). If you ever wonder why so many babies suffer from colic and allergies these days, you may just have found your answer. Our bodies and our babies’ bodies are rejecting this milk. Mother’s milk is best for human babies. If you can’t breastfeed, there are alternatives, but cow’s milk should not be one of them. Cow’s milk is healthy only for baby cows (who, by the way, often don’t get to feed off their mother’s milk because they are taken away early so that dairy and meat farmers can mass-farm their produce to sell). As well as the health issues it causes, the fact it has no nutritional value to us and that the babies are taken away from their mummas, another reason to stay away is because the mass-farming of dairy means that these poor cows are kept lactating all year round so that their nipples swell to inhumane, unnatural sizes and they are in pain and uncomfortable. (and as a breastfeeding mother, I know how painful mastitis and nipple pain can be!) For this reason, the nipples create pus and this is filtered into the milk we end up drinking, as are the steroids, antibiotics and hormones that are injected into the cows to keep them ‘strong’.

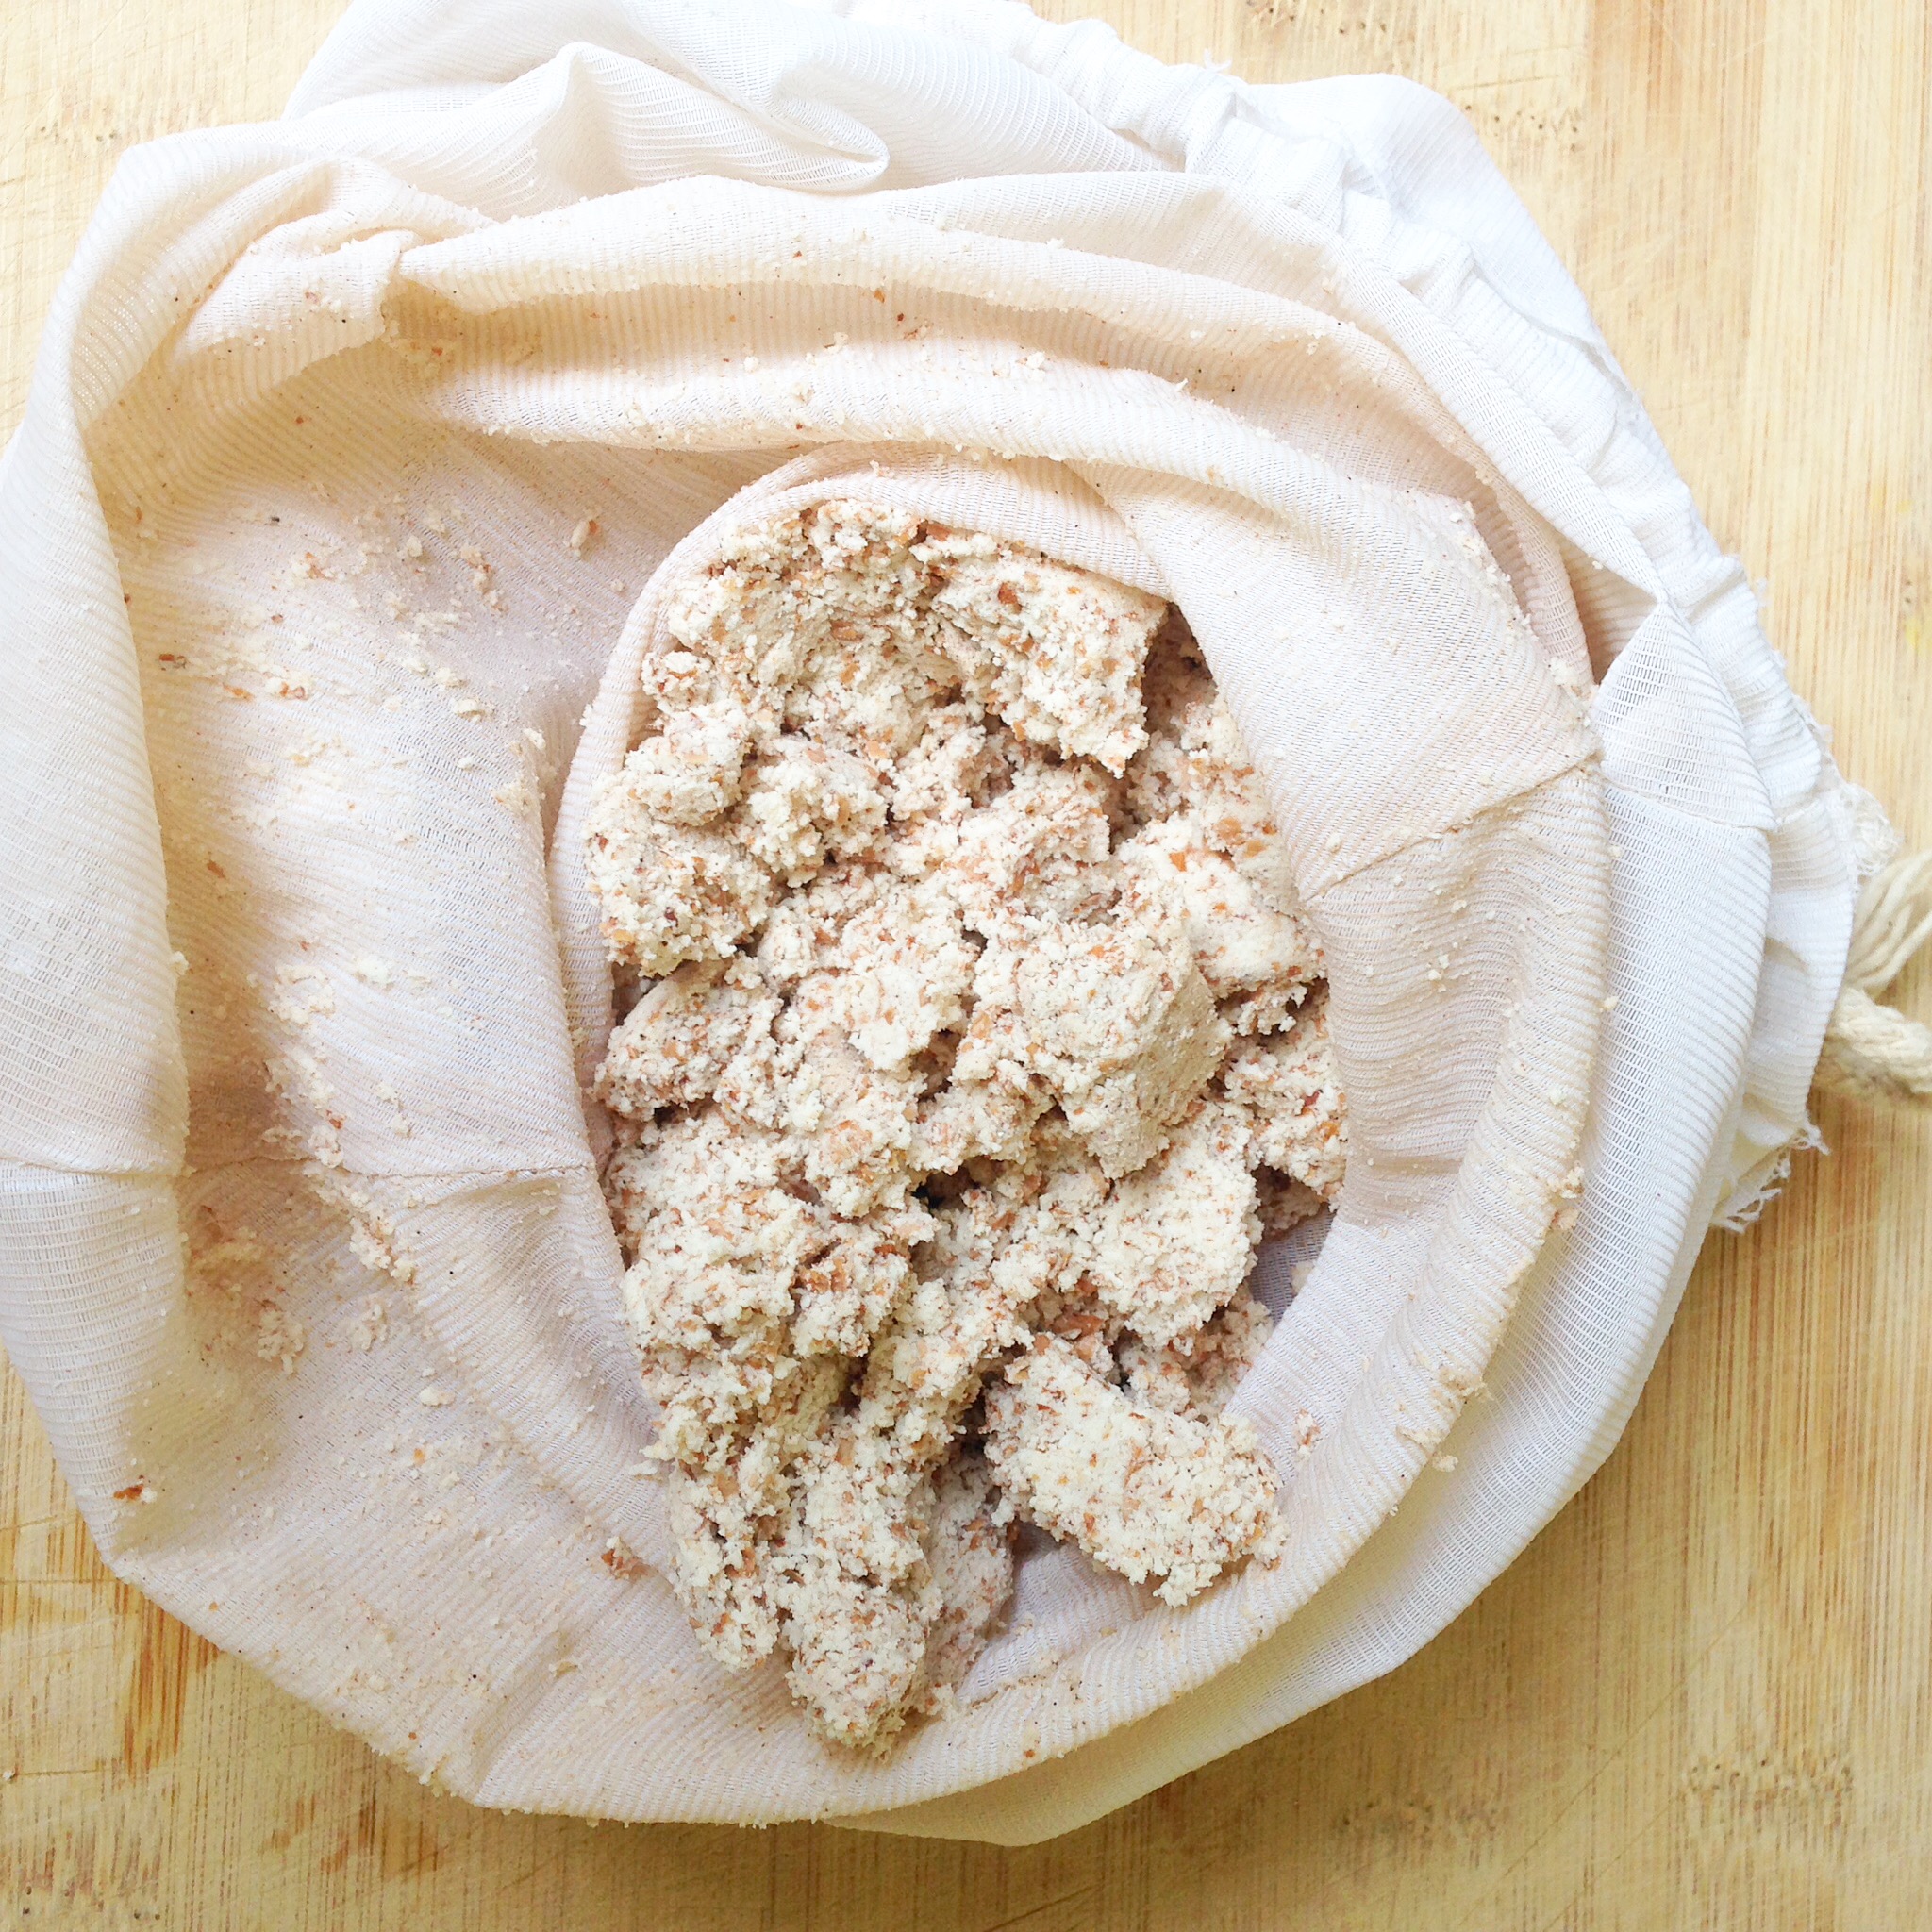
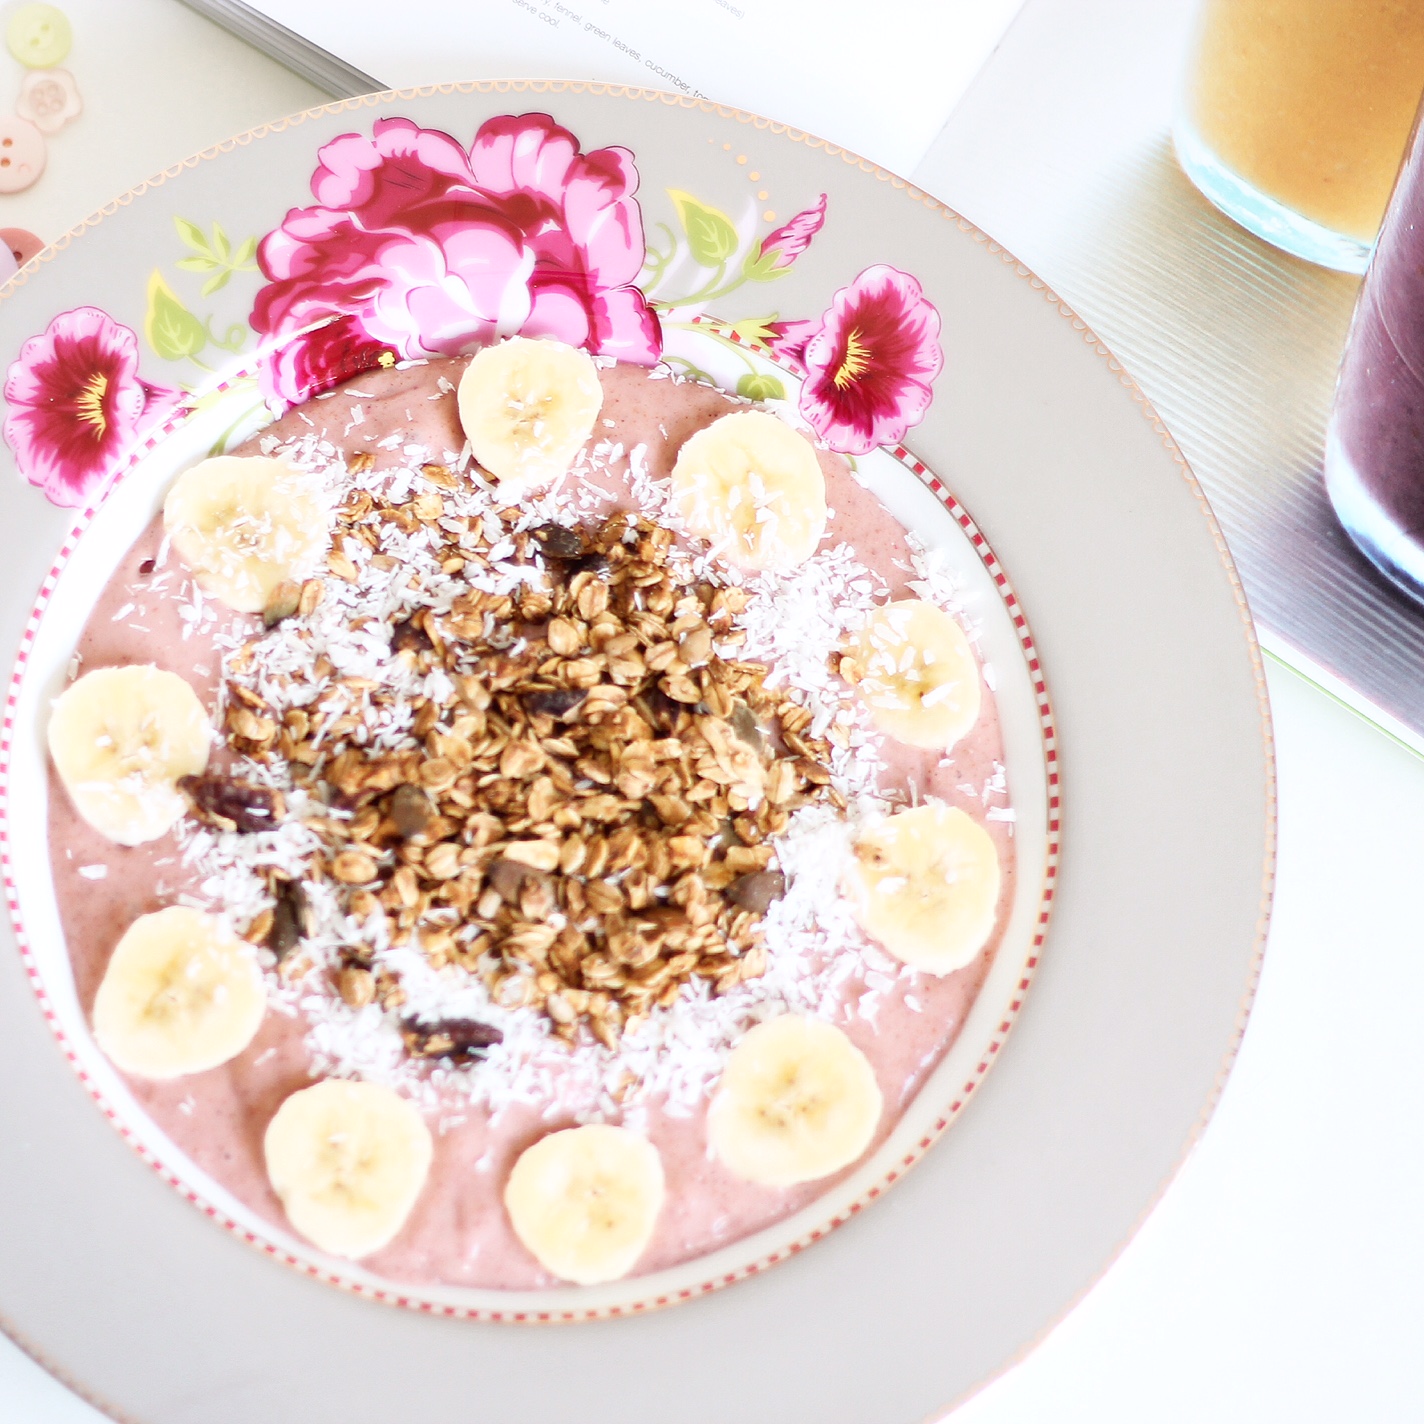
You’re probably wondering then what you can substitute milk with, and where you can get your calcium from… Substitutes come in the form of nut milks that we can make ourselves for minimal cost and in minimal time. Check out Raine’s Almond Milk. We also use nut milks in most of our breakfast recipes (check out the breakfast page) and we even make our own yoghurt with cashews or coconuts. Have a look at my cashew yoghurt and the to-die-for cashew butter. If you have nut allergies you can opt for rice milk or oat milk – still highly nutritious and much better for the gut than cow’s milk.

Can’t breastfeed and not sure what you should do as all formulas are cow’s milk-based? Try this Nannycare goat’s milk-based formula. Much gentler on the gut than cow’s milk and all the ingredients are high-grade.

Many natural food sources have high bioavailable calcium meaning they are absorbed and become available for the body to utilise physiologically after consumption.

Eating a combination of these foods will give you all the calcium and nutrient density you’ll ever need.

In order of highest calcium:

  1. Dried herbs (dried basil, thyme, marjoram, rosemary, dill). 2113mg per 100g
  2. Sesame seeds (dried). 975mg per 100g
  3. Chia seeds (dried). 631mg per 100g
  4. Fireweed leaves. 429mg per 100g
  5. Sardines 382mg per 100g
  6. Grape leaves. 289mg per 100g
  7. Chilli powder. 278mg per 100g
  8. 264mg per 100g
  9. 255mg per 100g
  10. Collards raw. 232mg per 100g
  11. 217mg per 100g
  12. Amaranth greens. 215mg per 100g
  13. 181mg per 100g
  14. Kelp (seaweed). 168mg per 100g
  15. Lotus seeds. 163mg per 100g
  16. Brazil nuts. 160mg per 100g
  17. 138mg per 100g
  18. Dark green leafy vegetables (spinach, Swiss chard, beet greens, kale). 99mg per 100g
  19. 86mg per 100g

To make sure Braxton gets enough calcium I make sure his diet has heaps of leafy green veg and nuts and I make a bowl of tahini (if using this recipe for babies just omit the salts) once a week from a tub of raw tahini paste, and I dollop it over pretty much everything he eats. The sesame seeds give him all the bioavailable calcium he needs.

I really hope this post gives you something to think about. We are all on a journey of learning and all we can do is try to pass on information that we are learning ourselves, in the hope that we can help people become healthier. The way I see it is, just because you have been brought up being told something, it doesn’t make it right. We were all brought up in a time when milk was delivered in cute little glass bottles to our doors and we drank it endlessly and were contributors to the clever consumerist advertising campaigns all around us telling us that we need milk for calcium. We don’t! Imagine how many other things we got wrong… there is so much for us to learn, the possibilities are endless!

Health and happiness,

Love,
Lauren


(Reference: @tuneintomyfrequency)

Dark Green Juice for Dark London Days

Dark Green Juice

It’s a gloomy old day in London Town today, so I woke up and made a strong green juice to boost my immune system. I added Organic Burst Spirulina because it supports the immune system and is a rich, bio-available protein containing 18 amino acids.

Ingredients

Half a cucumber
4 sticks of celery
1 small bag of spinach
1 fennel bulb
1 tsp spirulina powder
Juice of 1 lime

Method

Juice all ingredients except spirulina and lime. Once juiced, add lime juice and mix in the spirulina. Add an ice cube to make it more refreshing!

Enjoy!
Love,
Lauren

Homemade Almond Milk

almond-milk

If you would like to read about why dairy is bad for you and why I don’t have it myself and why I don’t give it to my baby, read this article about why dairy is bad for you. I do not recommend replacing dairy with soy, even if you’re buying organic non-GMO soy products. Soy beans naturally contain isoflavones, which function as phytoestrogens. These mimic your body’s own oestrogen, therefore it’s as though you have increased oestrogen production. It’s never a good idea to mess around with your hormones. Furthermore, soy beans may have health benefits in their natural, whole state, but most of the dairy-replacement products made from soy are very processed. My rule of thumb is that processed is bad, and this is the major theory behind the “raw food” and “clean eating” movements. I don’t think that eating organic tofu once in a while will have a bad effect, but for most people whatever they use to replace dairy is something they will be eating every day. So you need to choose something which will contribute to your health, not hinder it!

For me, the best alternative to cow’s milk is almond milk. It’s just so damn yummy! The health benefits of almond milk include improved vision, weight loss, stronger bones and muscles, and a healthy heart. It helps to maintain ideal blood pressure and is good for your kidneys. Almond milk (or any other nut milk) is such a great substitute for cow’s milk that you won’t even miss it. In fact, once you’re used to having nut milk the taste of cow’s milk is quite unpleasant. 

Nut milk is really simple to make, and once it becomes part of your routine, no big deal, you’re ready to move onto the next step of cleaning up your diet 🙂

Ingredients

1 cup raw almonds
water for soaking
900ml purified water
1/4 tsp himalayan salt
1/4 tsp vanilla powder or 1/2 tsp vanilla extract
3 – 4 dried dates, or 1 tbsp raw honey or organic maple syrup

Method

Firstly, soak the almonds in water overnight or minimum 4 hours. Don’t skip this step! Almonds contain an enzyme which inhibits digestion so it’s important to soak them first. Drain the water off and rinse them.
Time-saving tip: if you own a dehydrator, soak a kilogram of almonds in one go and then dehydrate them. That way your almonds are pre-soaked and you can make milk without any forethought!

Now put all the ingredients in a blender, and blend well. In a high-speed blender 30 seconds is enough, but it may take longer in a regular blender.

Strain the liquid through a nut milk bag (available at health shops or online) or use a clean piece of cheesecloth or muslin. Keep refrigerated and use within 3 – 4 days. You could play around with flavour by adding cinnamon, or raw cacao powder for chocolate milk!

almond milk2

What you have left over after straining off the liquid is called almond pulp. In Raw food preparation we dry this out in a dehydrator to get almond flour (as opposed to store-bought almond flour, which is usually ground, blanched almonds.)

If you don’t have a dehydrator you can spread it out on a baking tray and put it in your oven on a low heat until it dries. Then process it in your blender to a fine flour. Keep in an airtight container. If you live in a very hot or humid place I recommend keeping it in the fridge. You can use this for gluten-free baking, as I do in my Banana Bread.

almond milk3

Health and happiness!

Love,
Lauren

Three Variations of Homemade Ice Cream

IMG_9364 (3)

I kid you not, homemade ice cream is the easiest thing to make! You need to have a good, high-speed blender like the Vitamix, and some fruit. That’s literally it!

Freeze bananas the day before, then add them to the blender. The super high speed turns the frozen bananas into cream without actually putting any cream in there, that is how simple it is!

Variation 1:
Just frozen bananas, topped with Chunky Monkey Cookie Dough Chunks

Variation 2:
Frozen bananas with two dates to make a banana caramel ice cream, topped with Raw Cacao Cookie bites

Variation 3:
Simple sorbet – frozen strawberries and raspberries topped with some raspberries.

You can top with date syrup, nuts, seeds, fruit, desiccated coconut – anything you like. My parents came over for dinner tonight and couldn’t believe it was completely and totally plant-based and guilt-free!

Happy ice cream eating!
Love,
Lauren ❤


Strawberry Banana Acai Smoothie Bowl

Strawberry Acai Bowl2

You’ve probably seen my Acai Berry Smoothie Bowl and this one is not dissimilar, I just used slightly different ingredients.

I try to open a few acai capsules into my breakfast every few days because the acai berries have been tested to hold more polyphenols and antioxidants than pretty much any other food. You get polyphenols from other berries, especially blueberries, but acai berries have them in an abundance never seen before. They are indigenous to the Amazon in Brazil and have only recently become public knowledge – great for us! Polyphenols make us happy and also help us prevent and beat degenerative diseases such as cancer and autoimmune diseases. Polyphenols also make your skin look and feel incredible so including them in your diet as well as using them as a beauty product will help not only your inner health, but your outer health too! Acai berries are also rich in fatty acids omegas 3, 6 & 9 which is all you need for that anti-inflammatory boost.

This really is so easy to make guys, so ditch the cardboard-like, sugar-filled, store-bought cereals and have this yummy creation for brekkie!

Ingredients

1 cup strawberries
1 heaped tbsp almond butter
2 dates
2 tbsp Coyo coconut yoghurt (optional but makes it extra creamy)
3 acai berry capsules, opened and sprinkled in
1 probiotic capsule, opened and sprinkled in (optional but great for gut health)
3 tbsp almond milk
2 bananas, one pre-frozen and one fresh

Optional toppings:
Granola
N
uts
Seeds
Fruit
Goji berries

Method

Simply put all the ingredients into your food processor or blender, except for the fresh banana, in the exact order as they appear, and start blender on a low speed and increase gradually. Once creamy pour into a bowl and top with anything you like such as nuts, seeds, goji berries, fruit, granola – the world is your acai bowl!

Happy breakfast!
Love,
Lauren

On-The-Go-Lunch Wraps

Falafel wrap

We’re all busy running around and most of us don’t have the time to stand there cooking a fresh soup and home-baked gluten-free bread for lunch every day, but lunches should still be healthy, and they can be healthy and easy at the same time.

I used my vegan falafel and put them in a spelt flour wrap with leftover homemade tahini and lettuce. You can add whatever you want to it!

This is a great baby led weaning idea as you can just rip it all up and leave it on the tray in front of them!

Just a short post but hoping it inspires you to create healthy lunches for you and the kids!

Love,
Lauren

Roasted Butternut Squash with Garlicky Spinach

12

When you first go vegetarian or vegan, it can be a bit stressful, especially if you are short of time. That’s because we’re so used to being able to ‘stick a steak under the grill’ or ‘put a chicken in the oven’ or ‘grill a chicken breast’ and so on and so forth. I got stressed about it myself when I first went fully veggie this time last year, which is why I try to come up with EASY vegetarian meals. I still have to cook meat for my husband, so it would be a hell of a lot of work if I was making highly intricate meals for me along with his meals. What I try to do is either a variation of whatever he’s having, or something simple, especially during the week when it’s all rush rush rush. But on nights like last night, he is more than happy to be part of vegetarian night because the food is so good!

I love butternut squash, I probably cook it in some variation at least once a week (by the way, speaking of butternut squash, you must try Raine’s Butternut Gnocchi!) Butternuts are high in fibre, low in calories and high in Vitamin B Complex which I need lots of for my nerve problems caused by long-term arthritis. They are also high in polyphenols (like acai berries and blueberries) which are great anti-oxidants. An all round brilliant vegetable!

Ingredients

1 butternut squash (half per person)
1 small bag of spinach
2 cloves garlic, crushed
2 tsp extra virgin olive oil
Himalayan salt

Method

Preheat your oven to 180. Cut the ends off the butternut and cut it in half, lengthways. Place it on a baking tray and bake for about an hour.

Take it out the oven after an hour and remove the seeds with a spoon – they should come out really easily now – and throw them away. Drizzle a little olive oil and salt over it and put back in the oven for half an hour.

9

Meantime, cook the spinach by heating 1 tsp of the oil in a saucepan. Once it’s hot, add the garlic and cook for 30 seconds, then add the spinach, in small batches, along with some salt. It wilts to nearly nothing so a whole bag will end up just about filling the holes of the butternut. It shouldn’t take more than five minutes (should be less) for the spinach to be ready. Leave to the side, remove the butternut halves from the oven and fill the holes with the spinach. Serve on its own or with any accompaniments you choose. I served it with my vegan falafel, homemade tahini and some avocado.

14


Peace and Love!
Lauren

No-Fry Vegan Falafel

13

The chickpea, ladies and gentlemen, making yet another appearance. They’re just so bloody versatile! Yesterday I made cookies with them, last week hummus, today falafel.

Where I come from, falafel are fried in oil (where I come from just about everything is fried in oil!) but here at Two Kitchens we’re about healthy, nutritious food and Raine and I often take traditional recipes and try to make them healthier so these are baked instead of fried and have no grains or animal produce in them, they are fully plant-based. Here’s how:

Ingredients

2x 400g tins chickpeas
2 small carrots
1 onion
A handful of coriander, chopped finely
A handful of parsley, chopped finely
1 tbsp cumin
1 tsp Himalayan salt
Some pepper
1 tsp olive oil

Method

Preheat your oven to 200 and line a baking tray with baking paper.

Drain the chickpeas in a colander and rinse with cold water. Then pat dry with a paper towel to remove excess liquid and leave there to drain for a minute.

Peel the carrots and onion and put them in the food processor with the chopping blade or on a chopping setting to get them chopped up nice and small, very quickly. It shouldn’t take more than 10 seconds. Scoop it all out into a bowl and leave to the side for a moment.

Put the chickpeas in your food processor (you don’t need to clean it of the carrot and onion) and blend until smooth but not for too long as you don’t want to make hummus.

Once blended add the grated carrot and onion back in, along with the rest of the ingredients and pulse to combine. Alternatively you can remove all of it from the food processor and mix in a bowl.10

Once combined, wet your hands slightly and shape into balls or flatten them for falafel that fit nicely into pitta bread. I’ve done both in the picture below so you can see.11

Once all balls are on the baking tray, put them in the oven for 20-30 minutes until they are nicely golden but not burning. You can turn them over half way.

Serve straight away, either in pitta with salad and hummus or on a plate along with other plant-based goodies. I served it for dinner with roasted butternut squash, chopped avocado and homemade tahini.14

I’m feeling very happy and positive today, so I’m sending that out to all of you who need the same!
Love,
Lauren